Installing reclaimed bricks combines craftsmanship with sustainability. Each brick carries a piece of history, offering strength and authentic charm that modern materials rarely match. Whether for patios, walkways, or feature walls, reclaimed brick delivers both durability and timeless character that enhance any space.
At New Orleans Brick & Stone, each reclaimed brick is hand-selected from century-old structures, cleaned, tested, and ready to ship. This ensures you receive materials that perform as beautifully as they look — preserving history while supporting high-quality construction.
In this guide, you’ll learn step-by-step how to install reclaimed bricks—from preparing the base and cleaning materials to laying, mortaring, and sealing for long-term success.
Understanding Reclaimed Brick
Reclaimed brick carries a story through its weathered look and sturdy feel. Choosing the right bricks means knowing where they come from, what makes them valuable, and how they add character to your project.
What Is Reclaimed Brick
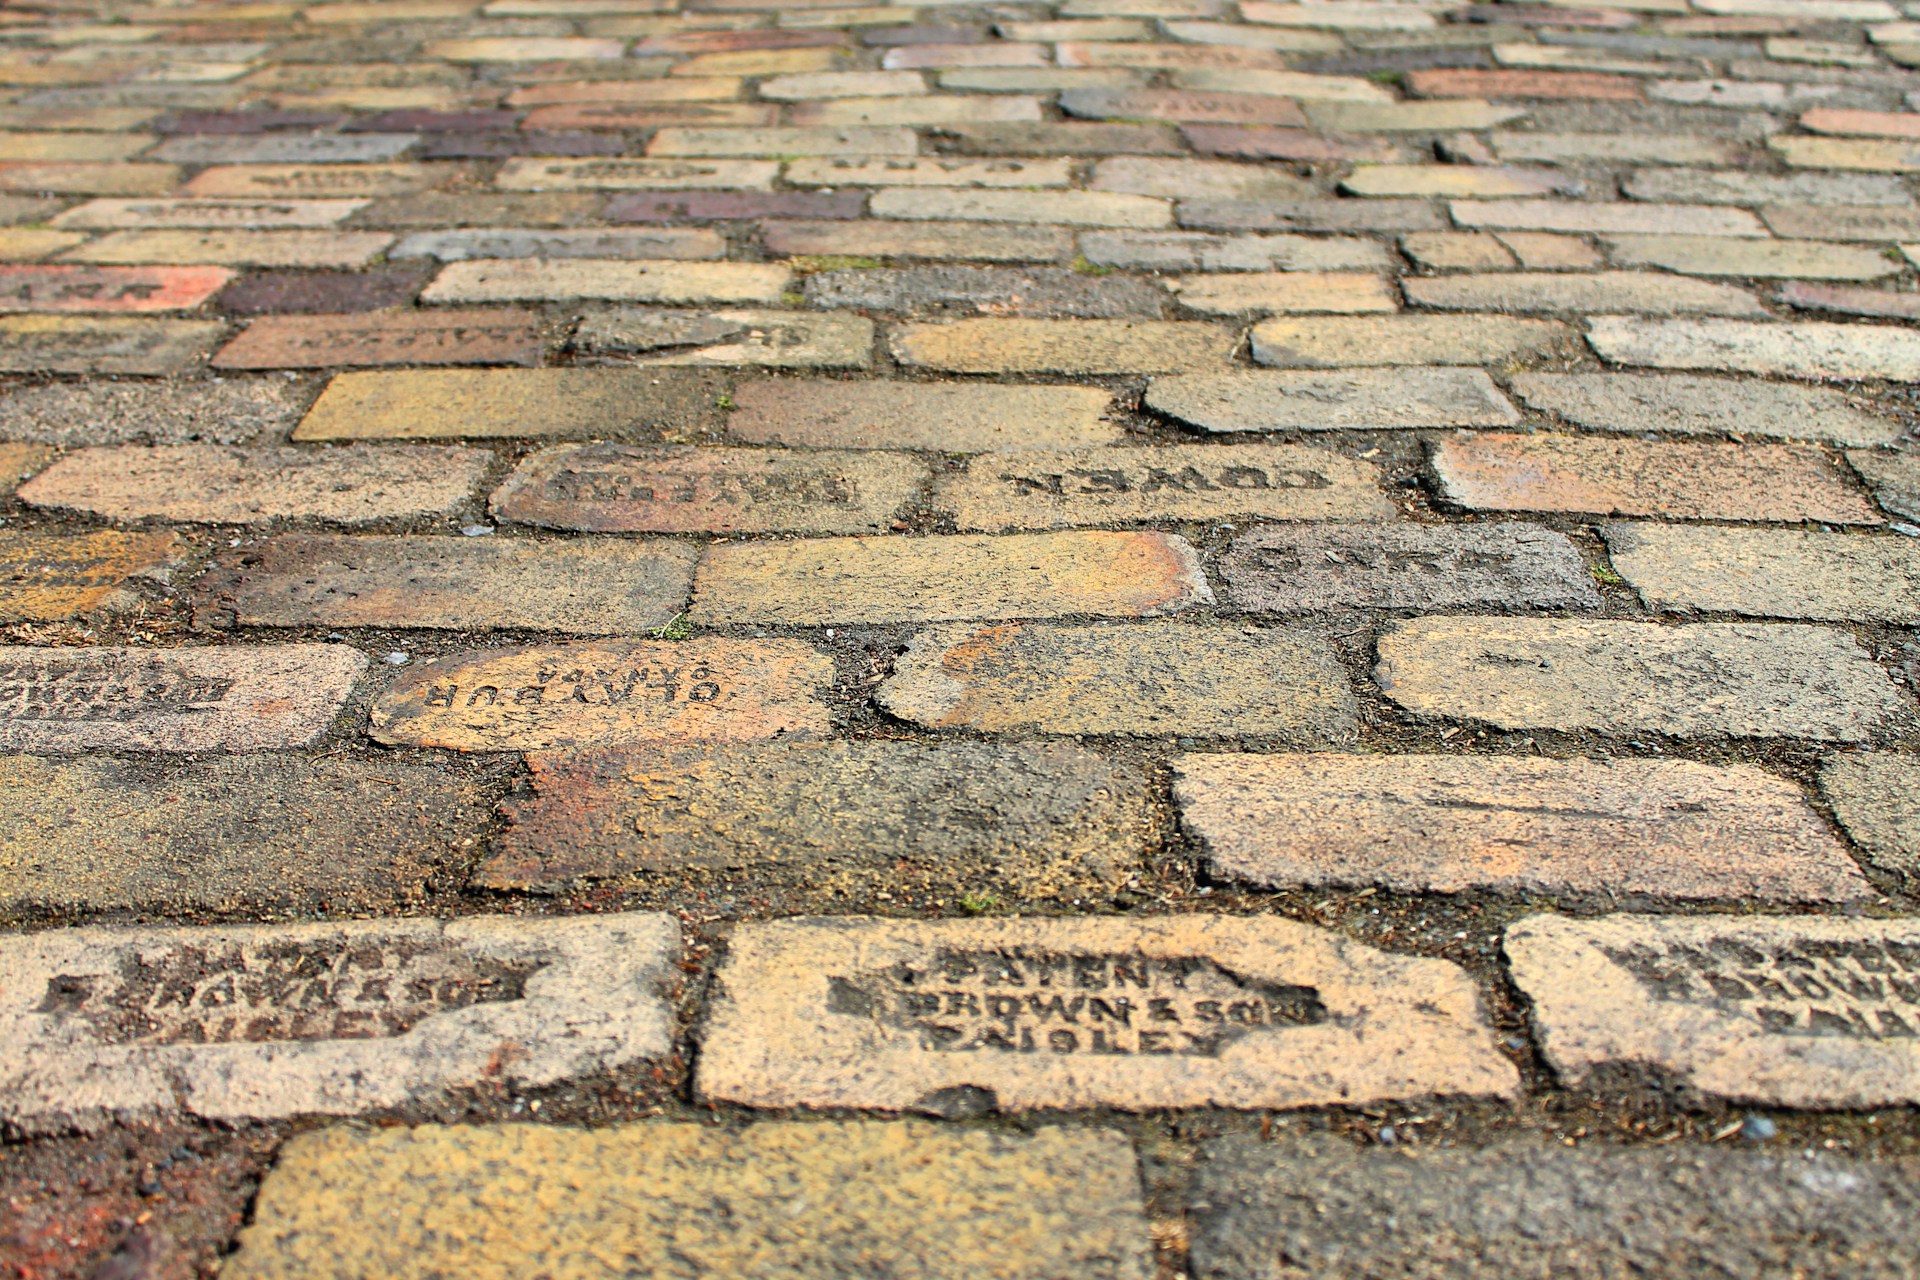
Reclaimed brick is brick that has been removed from old buildings, sidewalks, or other structures, then cleaned and prepared for reuse. These bricks often come from homes, factories, or commercial buildings more than 100 years old.
They have a unique texture and color you won’t find in new brick. This comes from years of exposure to weather and wear, which also makes them strong and durable. The bricks are carefully sorted so only the best pieces are used.
Using reclaimed brick lets you add historic charm to your space with materials that have already stood the test of time.
Benefits of Using Reclaimed Brick
Reclaimed brick offers durability and old-world character that new bricks cannot match. Because these bricks have been part of standing structures for decades, they often have enhanced strength. You also benefit environmentally.
Reusing brick reduces the need for new materials and lowers waste. This helps preserve natural resources and reduces your project's carbon footprint. From a design angle, reclaimed bricks give your project a rich, lived-in feel.
You get variations in color and texture that create warmth and depth. Choosing bricks from a trusted source ensures you receive hand-selected bricks with authentic patina and quality.
Common Sources of Reclaimed Brick
Reclaimed bricks typically come from demolished or renovated older buildings. These can include historic homes, warehouses, factories, or churches where the brick is carefully removed. Salvage yards and specialty suppliers are common places to find these bricks.
Our team, for example, recovers bricks from century-old structures, testing for strength and preparing them for reuse. Some bricks come from roads or sidewalks but often require more preparation due to wear. Knowing the source helps confirm the brick's suitability for your project and ensures you get consistent quality and appearance.
Preparing for Reclaimed Brick Installation
Getting ready to install reclaimed brick starts with understanding where it will work best, figuring out how much material you need, and gathering the right tools and supplies. Careful preparation helps ensure your project runs smoothly and the final result looks authentic and lasts.
Assessing Suitable Applications
Reclaimed brick works well for outdoor patios, walkways, garden borders, and accent walls. You want to consider the location’s exposure to weather and foot traffic. For heavy-use areas, choose bricks that are structurally sound without large cracks or chips.
Check if the surface below is stable enough for installation. For example, patios require a level, compact base like crushed stone or MOT base topped with sand. Avoid spots prone to excessive moisture or movement, which can cause shifting or damage over time.
If you’re new to reclaimed brick, think about simple, flat layouts before tackling complex patterns or vertical installations. This reduces risk and lets you gain experience handling the bricks’ unique shapes and textures.
Estimating Materials Needed
Measure the area carefully to calculate how many bricks you’ll need. For patios or walkways, use length × width to find square feet. Then, estimate brick coverage using the size of your brick—standard reclaimed bricks cover about 7–8 square feet per 100 bricks.
Add about 10–15% extra to your total for breakage, cuts, or future repairs. Don’t forget supplies like sand, mortar (if needed), and edging materials. You can also request expert help from trusted suppliers. They offer authentic reclaimed brick with reliable inventory stocked and ready for fast delivery, helping you plan accurately.
Gathering Tools and Supplies
Prepare these basic tools for installation:
- Shovel and rake for excavation and base preparation
- Tamper or plate compactor to level and compact the base
- Rubber mallet for setting bricks gently
- Level and string lines for straight layout
- Broom for spreading sand or joint filling
For mortar installation, you’ll also need a trowel, mixing bucket, and pointing tools. Choose high-quality sand specifically for paver bases and joint filling. Avoid regular play sand or fine beach sand. If using mortar, get a suitable mix that matches the historic look of reclaimed brick.
Keep safety gear like gloves, knee pads, and eye protection close. A clean, organized workspace helps you maintain control over the project quality and speed.
Site Preparation
Before laying reclaimed brick, you need to prepare the area carefully. This includes cleaning and leveling the ground, building a strong base, and making sure water drains properly. These steps help your bricks last longer and sit evenly.
Cleaning and Leveling the Area
Start by removing all plants, roots, rocks, and debris from the site. Clear down to the soil so you have a clean surface to work with. Use a rake to smooth out the dirt and make it as level as possible. Next, compact the soil using a tamper or plate compactor.
This helps prevent the ground from shifting later. If the soil is uneven, fill low spots with soil or sand, then compact again. A level surface ensures your reclaimed bricks will sit evenly without wobbling.
Creating a Solid Foundation
Your bricks need a firm base to avoid cracking or sinking. Dig about 6 to 8 inches deep for the foundation. Lay a weed barrier or landscape fabric to stop weeds from growing up through the bricks. Add 4 to 6 inches of crushed gravel or stone.
Compact this layer thoroughly—it should feel hard underfoot. Then spread a 1 to 2-inch layer of coarse sand over the gravel. Use a board to screed this sand level. This layering creates a stable bed that holds your bricks in place while allowing for slight movement.
Ensuring Adequate Drainage
Proper drainage protects the bricks from water damage and shifting. The base should slope slightly away from buildings or structures, at least 1/8 inch per foot. This slope directs water off the surface and prevents pooling.
If your soil retains water or you are in a rainy area, consider adding a drainage pipe beneath the gravel layer. This helps carry excess water away. Avoid flat or low points where water might collect, as this encourages brick damage and instability.
For quality reclaimed bricks and advice, we supply materials ready for lasting, authentic projects.
Sorting and Cleaning Reclaimed Brick
Before you install reclaimed brick, it’s important to prepare your materials well. This means checking each brick for damage, removing old mortar and debris, and sorting bricks by size and color. These steps help ensure your finished work looks great and lasts long.
Inspecting for Damage
Start by closely examining each brick. Look for cracks, chips, or crumbling areas. Bricks with major damage should be set aside to avoid weak spots in your project. Tap bricks gently to listen for a clear sound. Solid bricks give a sharp knock, while damaged ones sound dull or hollow.
This quick test helps you separate strong bricks from fragile ones. Our bricks are carefully inspected to maintain quality. You want to do the same so you use only durable bricks that will hold up over time.
Removing Mortar and Debris
Old mortar sticks to reclaimed bricks, and it needs to be removed for a clean look and proper adhesion. Use a hammer and chisel or a wire brush to chip away mortar carefully. Be patient to avoid damaging the brick’s surface. For tougher mortar stains, you can apply a muriatic acid solution.
Use it sparingly and rinse the bricks well after to prevent damage. Always wear gloves and eye protection when using acid. After mortar removal, scrub bricks with a stiff brush to clear dust and smaller debris. Dry the bricks thoroughly before moving on to installation or storage.
Sorting by Size and Color
Organize bricks by their size and color to keep your project consistent and visually appealing. Grouping by size helps prevent uneven walls and makes laying bricks quicker. Sort colors to avoid patches that draw unwanted attention.
Many reclaimed bricks have unique patinas, so blending similar hues works best. Our bricks are sorted to help builders create authentic, heritage-driven designs. Doing this yourself saves time and gives you control over your project’s final look.
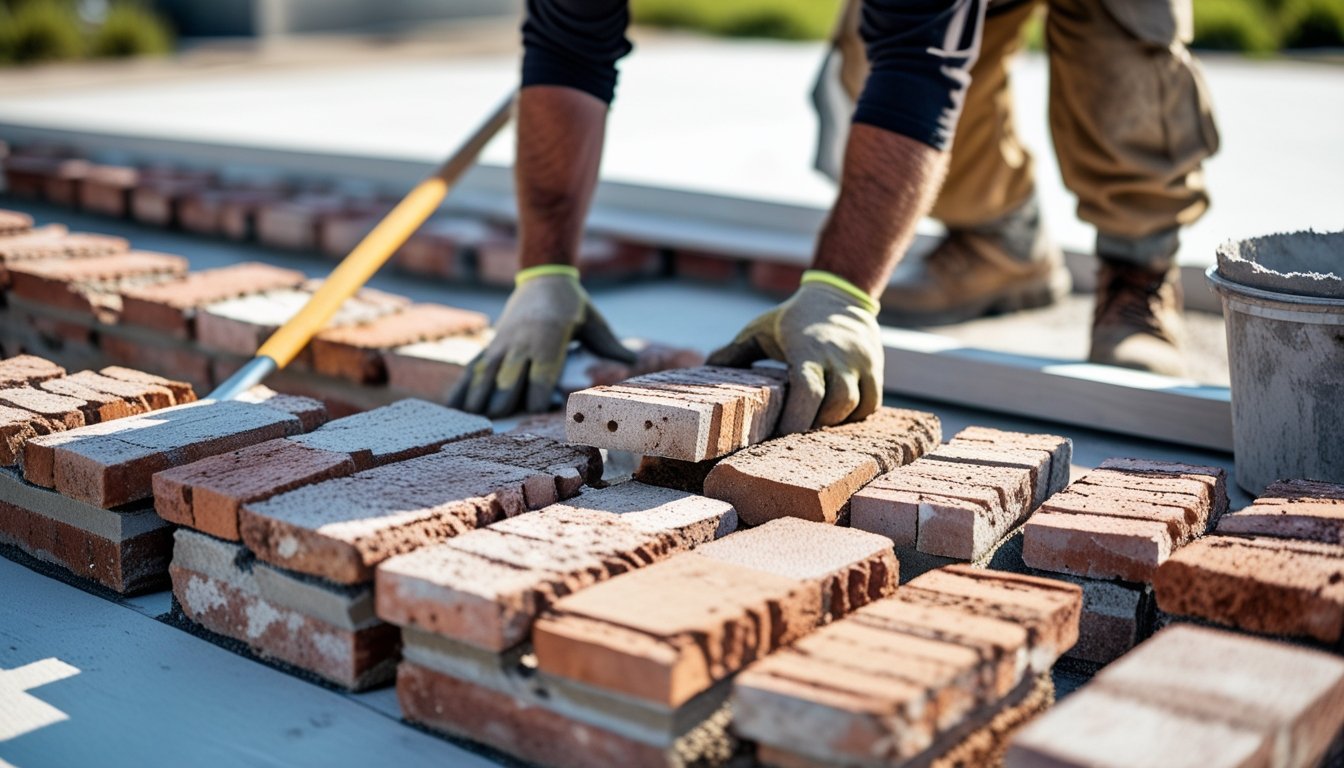
Laying Reclaimed Brick
Installing reclaimed brick takes careful planning and precise work. You will decide on a pattern that fits your space, place the first bricks correctly, and cut bricks to fit edges and corners. Each step builds a durable and authentic surface.
Choosing a Laying Pattern
Start by selecting a brick pattern that matches your style and the area layout. Common choices include herringbone, running bond, and basketweave. Herringbone is strong and visually interesting, good for driveways and patios.
Running bond is simpler and classic, fitting well in most spaces, especially walkways. Basketweave adds texture and charm but calls for more cutting. Consider the size and shape of your reclaimed bricks too.
Some patterns require a tighter fit, so knowing brick dimensions is key. Sketch the design on paper or use chalk to mark your ground. This helps prevent mistakes and keeps your project organized.
Setting the First Bricks
Lay your first row carefully as it sets the foundation for your entire patio or walkway. Start at a straight edge or corner, making sure the base is level and compact. Use a string line or guide board to keep bricks in a straight line.
Place each brick with consistent spacing, usually 1/4 inch for sand joints. Tap bricks gently with a rubber mallet to settle them firmly into the base. Check level frequently to avoid uneven spots. Taking time here will make the rest of the job smoother.
Cutting and Fitting Bricks
Cut bricks to fit edges, corners, or around obstacles like steps or plants. Use a masonry saw for clean, precise cuts. For minor adjustments, a hammer and chisel can work but may leave rough edges. Measure twice before cutting to avoid waste.
Fit each cut brick snugly against its neighbors, maintaining the pattern flow. Filling gaps with sand or mortar helps stabilize the bricks and prevents shifting over time. For authentic reclaimed brick, cutting should preserve the brick’s character. Avoid over-smoothing the edges to keep the natural, historic look.
Mortar and Bonding Techniques
Proper mortar and bonding ensure your reclaimed bricks hold strong and look great over time. You will focus on the right mortar mix, how to apply it evenly, and finishing joints cleanly for durability and a finished appearance.
Selecting the Right Mortar Mix
Choose a mortar mix that matches the strength and porosity of your reclaimed bricks. Typically, a Type N mortar works well for most reclaimed brick projects because it balances strength and flexibility.
Avoid using mortar mixes that are too hard, such as Type M, because they can damage old bricks by trapping moisture.
Use a softer mix to allow the brick to breathe and prevent cracks. If you are unsure, test a small area first. Make sure your mortar is mixed to the right consistency—thick enough to hold, but not too stiff to spread easily.
Applying Mortar Evenly
Start by cleaning and wetting each brick before laying it down. This helps the mortar bond better and prevents dry bricks from drawing moisture from the mix too fast. Apply a layer of mortar about 1/2 inch thick on the base and butter the ends of the bricks before placing them.
Press the bricks firmly into the bed to remove air pockets and ensure good contact. Use consistent pressure and spacing for uniform joints. Avoid applying too much mortar, which can cause messy joints that weaken the bond.
Pointing and Finishing Joints
Once bricks are set, use a pointing tool or trowel to smooth and compact the mortar joints. This makes the bond strong and protects the bricks from water damage. A raked joint—where mortar is recessed slightly—typically suits reclaimed bricks. It highlights their texture and gives a classic look.
Wet the mortar slightly before finishing to prevent cracking. Clean excess mortar from brick faces right away to keep your project looking tidy. When you source your materials, you can trust the authenticity and quality that complement professional mortar techniques.
Curing and Cleaning the Finished Surface
After laying reclaimed bricks, it’s important to let the mortar set properly and clean the surface carefully. This protects the bricks and keeps your patio looking good for years. Follow these steps to ensure a strong, clean finish without damaging the brick.
Allowing Mortar to Cure
Once your bricks are in place, the mortar needs time to harden fully. Keep the surface moist by misting it lightly with water for at least 3 to 5 days after installation. This helps prevent cracks and ensures the mortar bonds well. Avoid walking on or disturbing the area during curing.
Keep it shaded if possible, as direct sunlight can dry the mortar too fast and weaken it. Also, protect the patio from rain and freezing temperatures during this period.
Final Surface Cleaning
After the mortar cures, clean the bricks to remove any mortar residue or dirt. Use a pH-neutral masonry cleaner and a soft, non-metallic brush to avoid scratching the brick surface. Test a small hidden area first to ensure the cleaner won’t damage your reclaimed bricks.
Rinse the surface thoroughly with clean water to remove all cleaning agents and residue. Let the bricks dry completely before applying any sealant.
If you used reclaimed bricks from a reliable supplier, these steps help preserve their unique texture and color. Clean regularly to maintain its charm and protect your investment.
Maintenance and Longevity
Keeping your reclaimed brick in good condition takes planned effort. Regular care protects the brick’s character and ensures it lasts for years, even decades. Attention to small issues early on is key to preventing bigger problems.
Routine Inspection
You should inspect your brickwork at least once a year. Look closely for cracks, loose mortar, or signs of water damage. Pay special attention to areas near gutters, downspouts, and ground level where moisture can collect. Inspect mortar joints carefully.
If mortar is crumbling or missing, it can allow water to seep behind the bricks. Check for discoloration or efflorescence (white powder), which signals moisture problems.
Keep a checklist:
- Cracks or chips in bricks
- Mortar deterioration
- Signs of mold or moss
- Loose or shifting bricks
Repairing Damaged Bricks
Damaged bricks should be repaired or replaced promptly to maintain the wall’s strength. If a brick has minor surface damage, you can tuckpoint the mortar to seal gaps and prevent moisture infiltration. For bricks that are cracked or crumbling, replacing the individual brick is best.
Use reclaimed bricks that match the original in size, texture, and color. When replacing bricks:
- Remove damaged brick carefully without harming surrounding mortar
- Use mortar matching the original in composition and color
- Ensure new bricks are well-seated and aligned with the wall
Sealing for Weather Protection
Applying a breathable masonry sealer prevents water from penetrating the brickwork while allowing moisture to escape. This reduces damage caused by freezing and thawing cycles and helps prevent mold growth.
Choose sealers designed for historic or reclaimed brick to protect the surface without trapping moisture inside. Avoid non-breathable products, which can cause bricks to spall or deteriorate faster.
Before sealing:
- Clean the brick thoroughly to remove dirt and mildew
- Let the bricks dry completely
- Apply sealer evenly with a brush or sprayer
Experts recommend regular sealing every 3–5 years, depending on weather exposure.
Circular Economy and the Future of Brick Reuse
The future of sustainable brick supply lies in circular-economy models that keep materials in use for generations. Architecture 2030 reports that building materials and construction (embodied carbon) represent around 15 % of global CO₂ emissions from the built environment.
This makes reuse a crucial climate strategy. Reclaimed bricks play a central role in closing this loop by extending material lifespans and minimizing extraction.
As green design evolves, suppliers embracing circular practices — such as recycling masonry debris or integrating reclaimed bricks into new structures — will define the next era of sustainable construction.
Design Ideas Using Reclaimed Brick
Reclaimed brick offers unique style and strong character you can use in many ways. It works well inside your home and outside in landscaping. You can also highlight parts of a room or yard with these bricks for a timeless look.
Interior Applications
Using reclaimed brick inside adds warmth and texture. You can create a fireplace surround that becomes a cozy focal point. Brick walls in kitchens or living rooms bring a rustic, lived-in feel. Because the bricks are aged, each one has a unique color and surface texture.
When installing inside, consider using a thinner brick veneer for easier fitting. The bricks also work well as backsplashes or columns, giving your space character without heavy construction. This material lasts a long time and requires little upkeep once sealed properly.
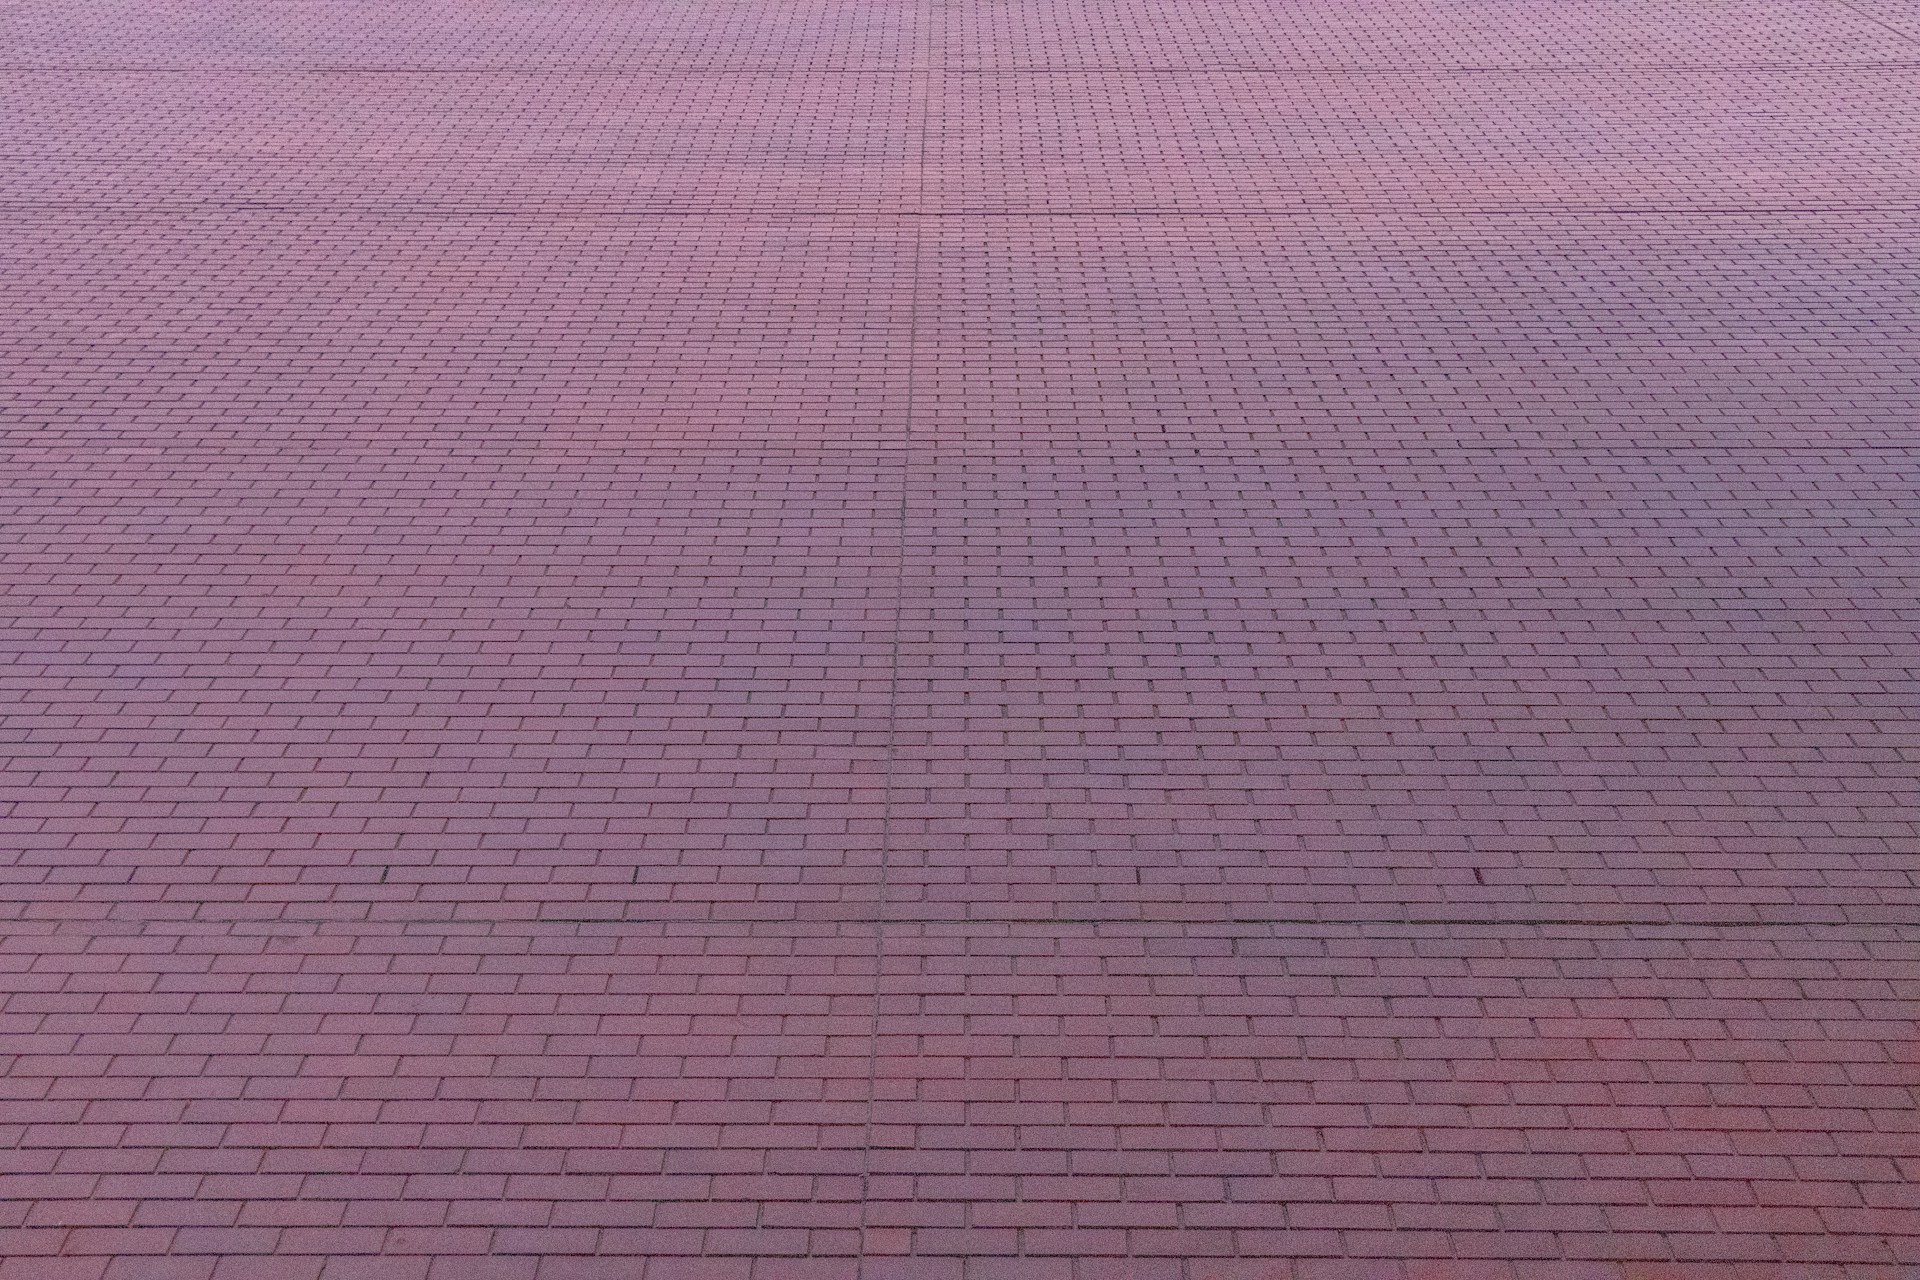
Outdoor Landscaping Features
Reclaimed bricks can shape pathways, patios, and garden edges. They create strong, weather-resistant surfaces with charm only old materials offer. Use compacted sand as a base and add landscape fabric to prevent weeds.
Lay bricks in patterns like herringbone or basket weave for interest. You can also build raised garden beds or small retaining walls using reclaimed bricks.
They hold soil well and blend naturally with plants. For steps or borders, these bricks separate lawn areas clearly and add a classic touch. The durability of century-old brick makes it perfect for outdoor use.
Accent Walls and Decorative Uses
Accent walls made from reclaimed brick bring depth and interest to any room. Use bricks on one wall in bedrooms, hallways, or entryways to add visual appeal. Their worn surfaces tell a story that modern bricks cannot match.
Decorative uses include built-in shelves with brick backs or small columns. Paired with wood or metal, bricks balance natural textures in your design. If you want to add charm to your home, reclaimed bricks from businesses provide authentic material with rich history and character.
Building Timeless Strength With Reclaimed Brick
Installing reclaimed brick is about more than structure—it’s about honoring craftsmanship and history. When properly prepared, laid, and sealed, these materials offer unmatched endurance and texture, transforming ordinary builds into timeless spaces.
At New Orleans Brick & Stone, every reclaimed brick is salvaged from century-old architecture, carefully cleaned, and tested for performance. With inventory ready to ship within 48 hours, you can start your project quickly, confident that each brick carries both heritage and strength.
Bring history into your home or landscape. Explore authentic reclaimed brick and stone — heritage materials that combine beauty, durability, and craftsmanship for lasting results.
Frequently Asked Questions
Installing reclaimed brick requires careful preparation, selecting the right materials, and following proper installation methods. Understanding how to lay bricks on different surfaces and choosing the right mortar are key for lasting results. Costs vary depending on labor and materials, especially when hiring professionals.
What are the necessary preparations for installing reclaimed brick on an exterior wall?
Start by cleaning and inspecting the bricks to remove old mortar and debris. Prepare the wall surface by making sure it is clean, dry, and structurally sound. Use a weather-resistant barrier to protect the wall from moisture.
Can you lay reclaimed bricks directly on concrete, and if so, how?
Yes, you can lay reclaimed bricks on concrete. First, apply a layer of mortar over the concrete to create a strong bond. Then, press the bricks firmly into the mortar, maintaining even spacing. Use a level to keep the surface flat.
What steps should be followed to construct a reclaimed brick patio?
Begin by planning the patio layout and preparing the ground with a compacted base of gravel and sand. Lay the bricks in your chosen pattern, starting from a corner or edge. Use mortar or sand between bricks depending on the design. Finish by sealing the surface if desired.
How to properly lay a reclaimed brick path for optimal durability?
Create a stable base by digging a shallow trench and filling it with compacted gravel and sand. Lay the bricks tightly against each other on the prepared base. Fill gaps with sand and compact the bricks again. This will help prevent shifting and maintain durability.
What considerations are important when choosing mortar for laying reclaimed bricks?
Choose a mortar mix that matches the historical character of the reclaimed bricks. A lime-based mortar is often better for older bricks since it allows movement and breathes better. Avoid modern cement-rich mortar that can damage fragile reclaimed bricks.
What is the estimated cost range for hiring a professional to lay a reclaimed brick patio?
Costs typically range from $10 to $25 per square foot, including labor and materials. Prices vary by region, project complexity, and the source of reclaimed brick.