A herringbone reclaimed brick patio brings timeless structure, color, and authenticity to any outdoor space. The pattern adds movement and strength, while reclaimed bricks supply the warm patina and natural variation that make a patio feel lived in from the very first day. For homeowners and designers who want durability, beauty, and history working together, a herringbone layout with reclaimed materials is a standout choice.
In this guide, you will find practical advice on pattern options, border ideas, installation steps, and design touches that help a reclaimed brick patio look and perform its best. And if you are planning a project and want access to authentic reclaimed brick that is ready when you are, our team at New Orleans Brick & Stone can help you source materials you can trust and ship them quickly to keep your build moving.
What Is a Herringbone Reclaimed Brick Patio?
A herringbone reclaimed brick patio pairs a zigzag brick pattern with vintage, salvaged bricks to give your outdoor space strong structure and aged character. It blends a classic layout with bricks that carry color variation, chips, and patina from past use.
Overview of Herringbone Pattern
The herringbone pattern uses rectangular bricks laid at 45-degree angles to form a repeating V-shaped weave. Each brick locks against two others, which gives the surface extra interlock and resistance to shifting under foot or light vehicle traffic.
You typically see this pattern in 45° diagonal or straight 90° orientations depending on how you want sightlines to fall across your patio. Laying herringbone takes careful planning at edges and transitions. Expect cutting at borders and the use of a soldier course or stone edge to finish cleanly. The pattern works well in small courtyards and large terraces because it adds visual movement and helps mask slight irregularities in reclaimed brick sizes.
Benefits of Using Reclaimed Bricks
Reclaimed bricks come from old buildings, roads, or industrial sites and show weathered surfaces, mortar remnants, and color variation. Using them reduces waste and often costs less than new artisan bricks, while giving your patio an instant sense of history.
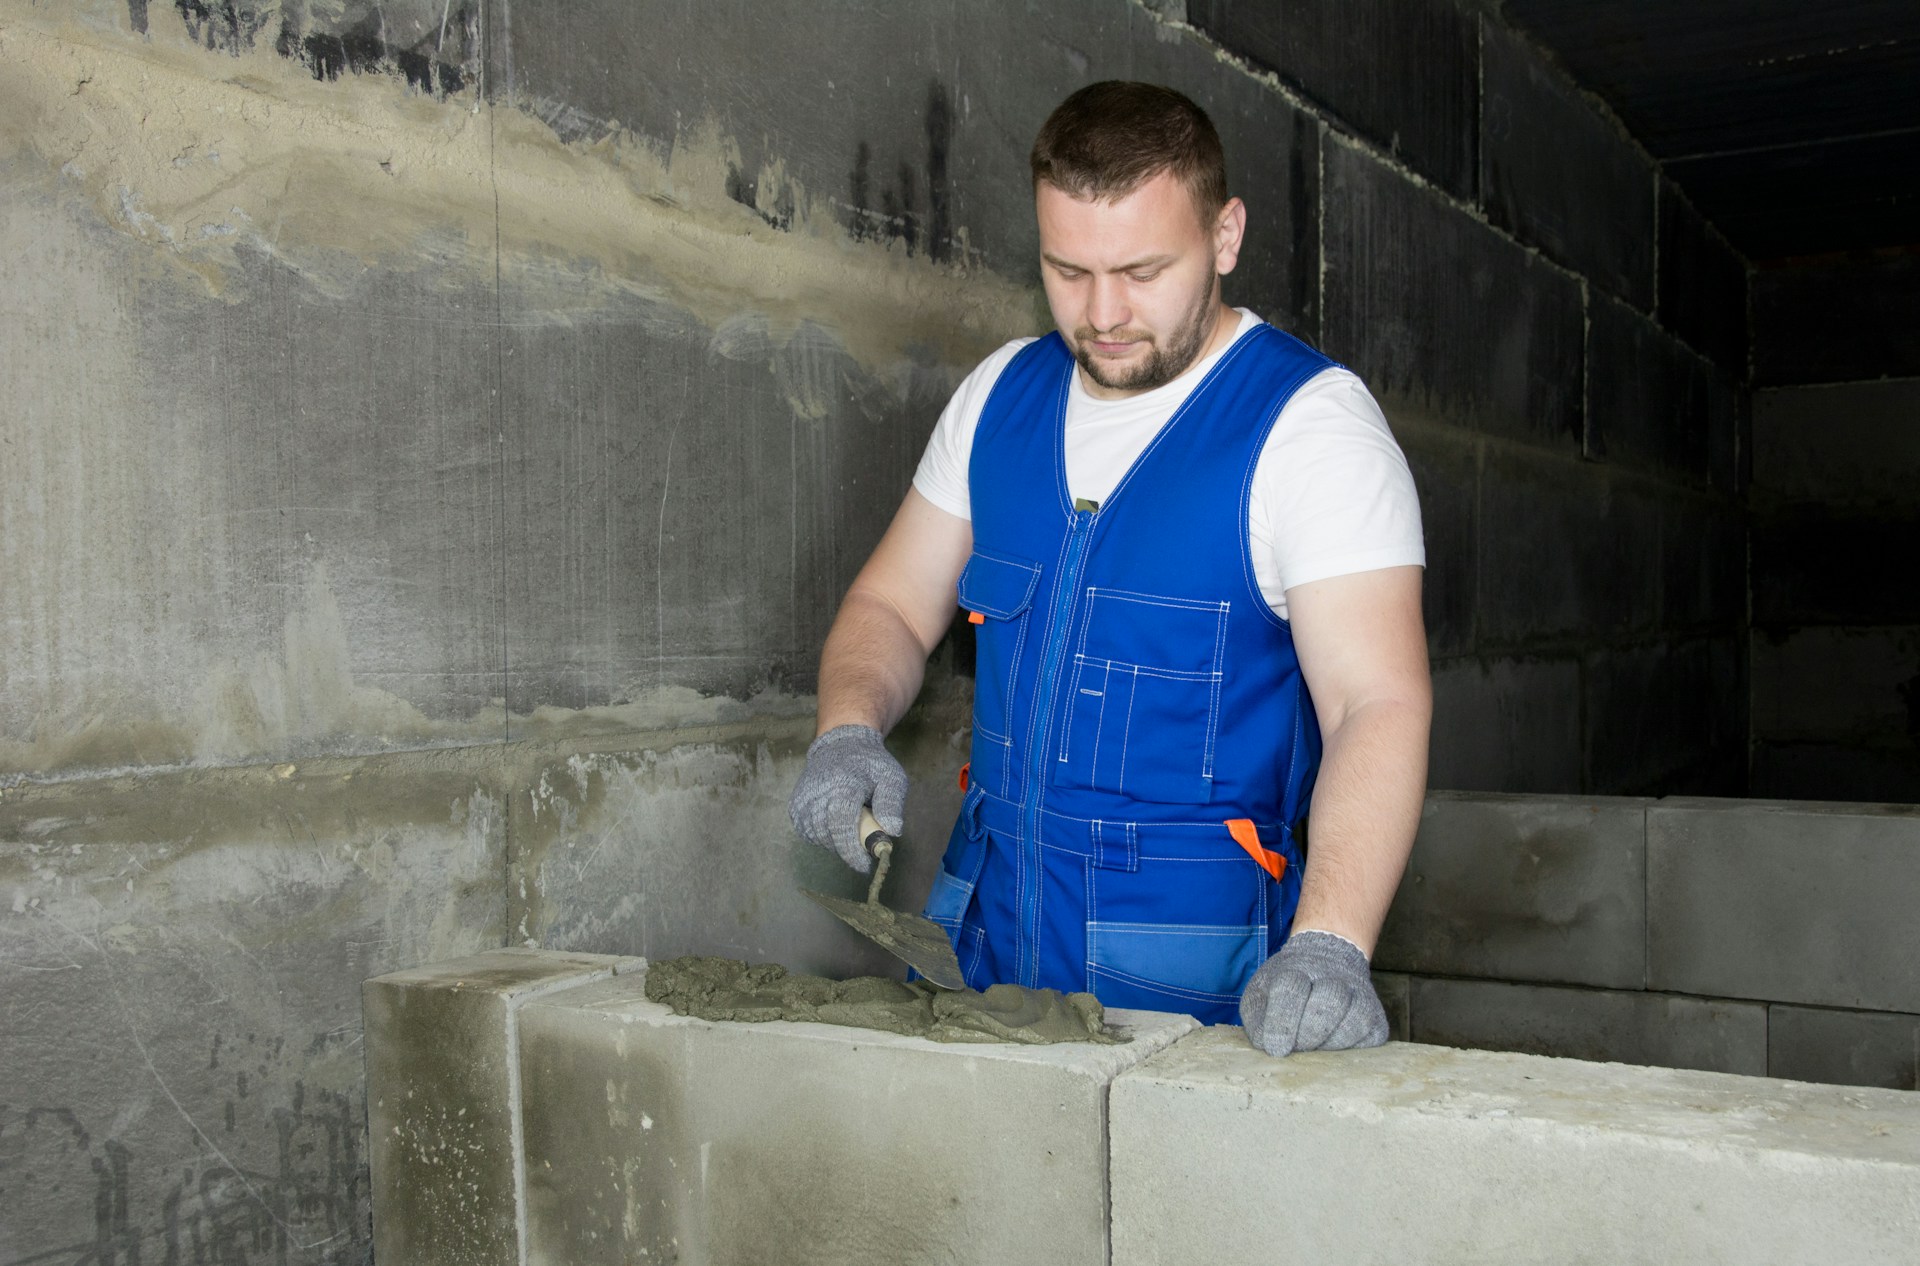
The denser, older clay bricks usually resist freeze-thaw cycles well, so they perform outdoors over time. You’ll need to sort bricks by size and color before installation to avoid clumping similar tones. Skilled installers accommodate varied brick thicknesses with a compacted base and flexible joint material, which keeps the herringbone field stable and reduces cracking compared with rigid mortared systems.
Design Appeal and Timelessness
A herringbone brick patio creates a focal point for your outdoor living space with a pattern that reads classic and refined. The reclaimed brick’s weathered look adds warm reds, browns, and subtle patina that pair well with wood furniture, iron accents, or lush plantings.
Because herringbone is a long-standing brick pattern, it suits both historic homes and modern renovations, bridging styles without looking dated. Accent borders, contrasting strips, or mixed-size bricks can further customize the layout while keeping the timeless herringbone structure intact.
Planning Your Patio Design
Plan for durability, style, and fit. Think about brick color and wear, the herringbone angle that suits your garden patio, and how much space you need for furniture and traffic flow.
Choosing the Right Bricks: Reclaimed vs. New
Reclaimed bricks give a weathered look and rich color variation that adds character to a brick patio. They often have nicks and mortar remnants, so inspect each brick for cracks or severe spalling. Use sound, dense reclaimed bricks for load-bearing patio areas; discard ones with deep fractures.
New bricks offer consistent size and color, which makes tight herringbone bonds easier to lay. If you mix reclaimed and new, sort by size and thickness first. Create a mock-up area to see how mixed tones blend before you set the whole patio.
Check frost resistance and porosity. Choose bricks rated for exterior use in your climate and seal if needed to reduce staining and water damage.
Selecting Herringbone Patterns for Different Spaces
The classic 45° herringbone pattern works well for rectangular patios and provides strong interlock for furniture and foot traffic. Lay bricks at a 45° angle to the house for a continuous flow between indoor and outdoor spaces. Use full-size brick units for a balanced look on medium to large patios.
A 90° (stairs-style) herringbone suits narrow paths and small courtyards. It reduces cutting along curves and edges, so it’s more efficient for tight garden patios. For curved borders, use smaller bricks or pavers to ease bending without awkward gaps.
Consider border patterns—soldier or basketweave edges frame the herringbone and hide cuts. Sketch the pattern at scale or use a digital layout tool to confirm how different angles change the visual rhythm.
Determining Patio Size and Layout
Measure the area you want to fill and mark furniture footprints: a dining table needs about 10–12 feet across; a small seating area needs 6–8 feet. Leave at least 3 feet of clearance around furniture for movement.
Plan for slope and drainage: aim for a 1/8–1/4 inch per foot slope away from the house. Include a compacted base and edge restraint in your layout to keep the herringbone pattern stable. Draw a scaled plan showing brick orientation, borders, and any steps or planting beds.
Calculate brick quantities using your layout and pattern waste: herringbone often requires 5–10% extra for cuts; reclaimed bricks may need a higher allowance. Buy extra to match tone and age variations if you’re using reclaimed materials.
Pattern Variations and Borders
Explore how different herringbone layouts change the look and how borders and mixed patterns define edges and walkways. Focus on scale, brick size, and border material to keep reclaimed brick character while improving function.
Classic Herringbone and Modern Twists
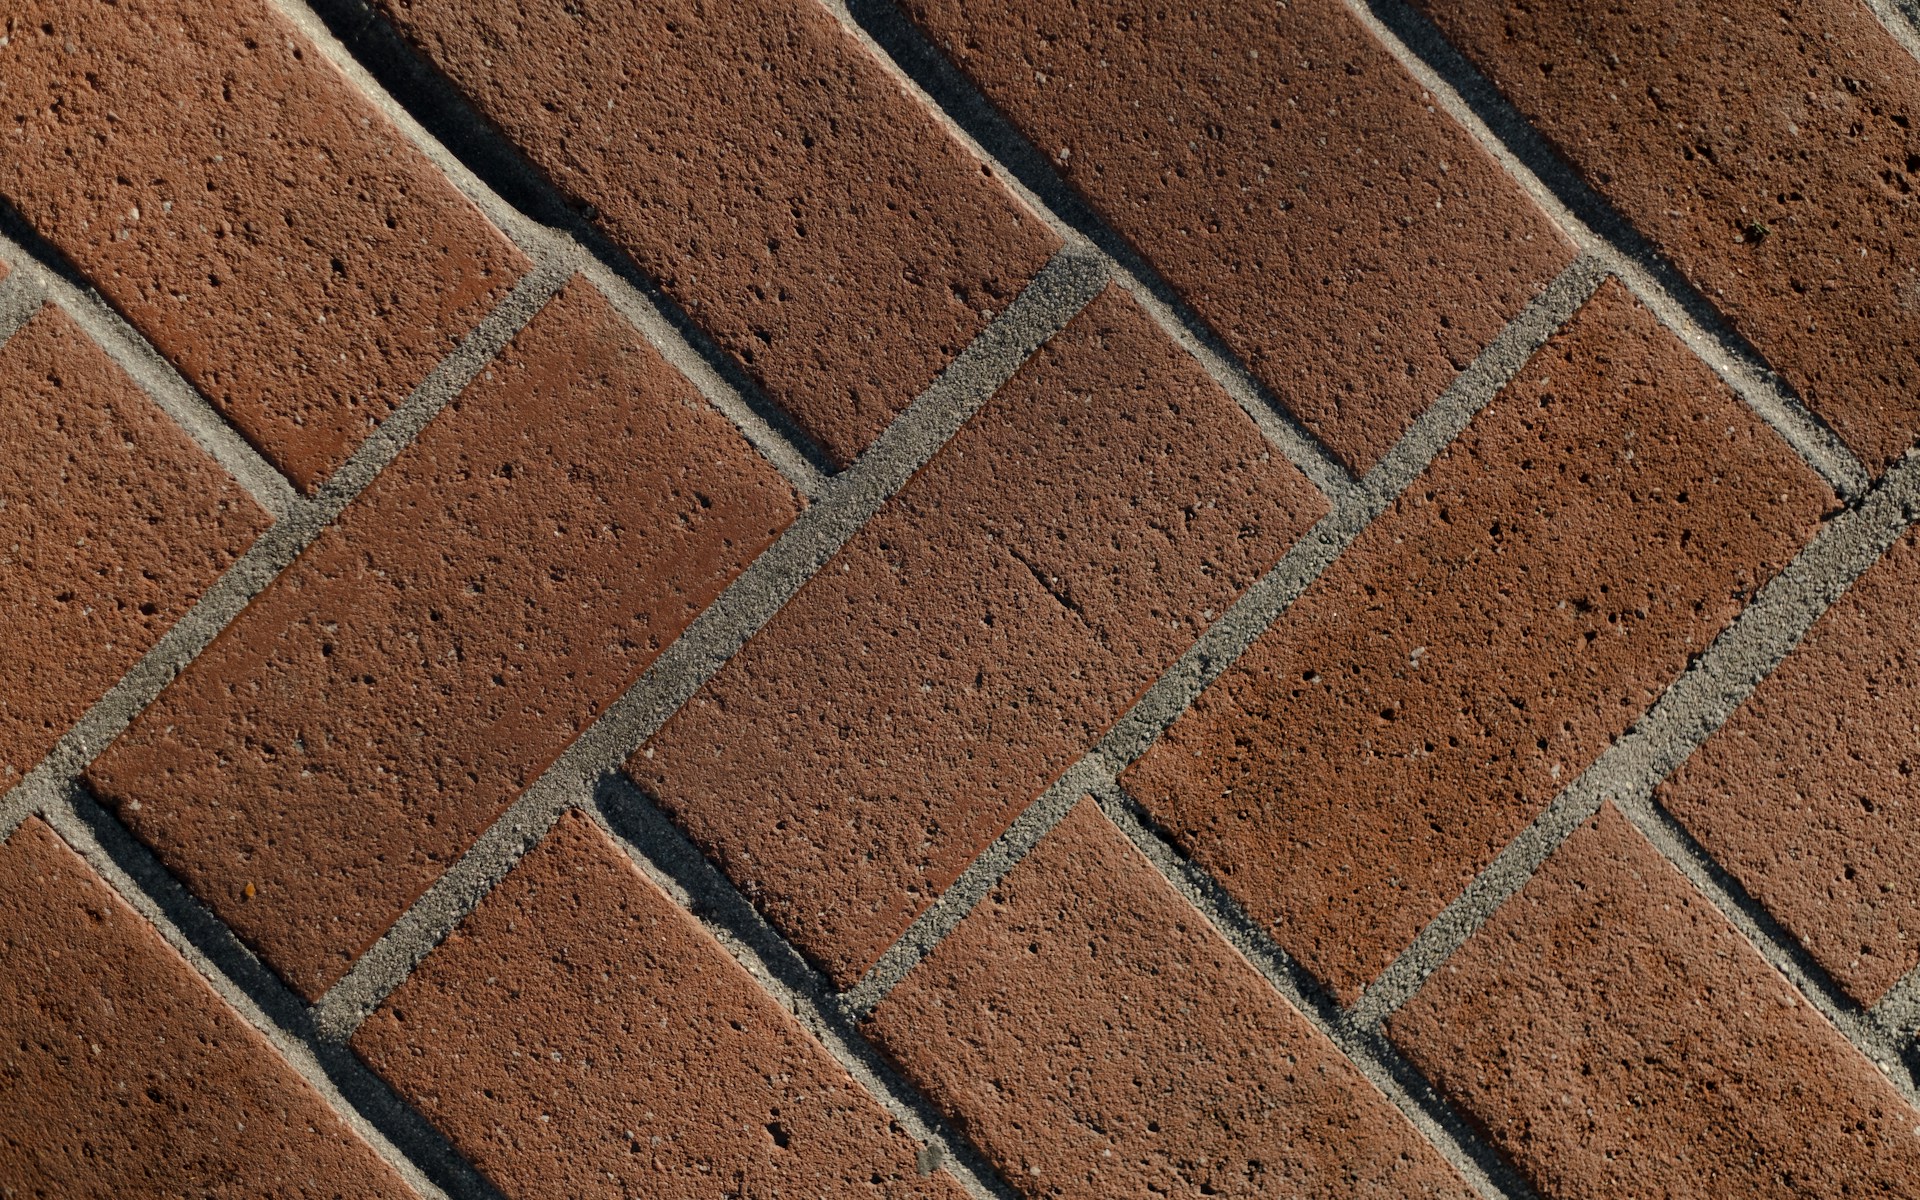
The classic herringbone pattern lays bricks at 45° in a tight zigzag. It gives strong interlock and a timeless look for a patio or brick walkway. With reclaimed brick, slight size and color variation adds charm and reduces the need for perfect joint lines.
For a modern twist, run the herringbone diagonally to make small patios feel larger. Use narrow-format or elongated reclaimed bricks for a tighter, more refined rhythm. Alternate brick colors every few courses to create subtle stripes without losing the vintage feel.
Keep joint width consistent—about 1/4"–1/2" for reclaimed units—to control weed growth and water runoff. Use a sand or polymeric sand joint depending on whether you want a flexible surface or a firmer, low-maintenance finish.
Integrating Borders: Soldier Course, Stone, and More
A soldier course border frames the herringbone field by laying bricks end-to-end along the edge. This simple band reduces cutting and gives a clean transition to lawn or mulch. Use full-length reclaimed bricks for a rustic soldier course, or choose a contrasting color to make the edge pop.
Stone borders, like limestone or sandstone, introduce texture and a visual anchor. Set the stone 6–12" wide to match brick proportions. Stone also helps restrain the flexible brick surface and hides irregular edge cuts from reclaimed units.
You can mix materials: a soldier course next to a narrow stone band provides both definition and durability. For pathways, consider a double border—soldier course plus a running bond strip—to guide foot traffic and protect edges from wheelbarrows or lawn mowers.
Mixing Herringbone With Other Brick Patterns
Combine herringbone with running bond or basket weave to create zones and movement. Use herringbone where you want visual interest—gathering areas or main patio fields. Place running bond as a transition to a walkway or driveway for simpler edge alignment.
Basket weave squares work well as accents or pattern breaks inside a herringbone field. Install basket weave in 12"–18" panels to form seating zones or to highlight a fire pit. Keep color and mortar consistent across patterns so the reclaimed look stays unified.
Plan transitions with soldier courses or a thin stone strip to avoid awkward cuts. Lay out full-size mockups before cutting reclaimed bricks to maintain balance and prevent color clustering.
Installation Essentials for Reclaimed Herringbone Patios
A stable base, careful brick placement, and the right tools ensure a long-lasting herringbone pattern. Focus on proper grading, compacted base layers, and tight joints to keep the patio flat and durable.
Site Preparation and Base Materials
Clear the area of plants, roots, and old material down to solid soil. Mark the patio edges with stakes and string so your layout stays straight. Set a slope of about 1/8"–1/4" per foot for drainage away from buildings.
Excavate 6–10 inches depending on frost and load. Install 4–6 inches of crushed stone or class II base and compact in 2-inch lifts with a plate compactor. Add 1 inch of coarse sand or stone dust on top, screeding it smooth for the bricks to bed on.
Use reclaimed brick of consistent thickness; sort and remove cracked or badly warped pieces. Lay edge restraints—concrete curbs, metal edging, or compacted wedge sand—to stop lateral movement. Keep tools ready: plate compactor, 4-foot level, masonry saw or chisel, and a herringbone starter board if you want perfectly straight rows.
DIY vs. Professional Installation Considerations
If you have moderate DIY experience and basic tools, you can handle small patios up to about 200 sq ft. DIY saves money but expect more time on excavation, compaction, and cutting irregular reclaimed bricks. Plan for 2–4 days of work for a small patio, longer if you need to clean and sort bricks.
Hire a pro if the area has poor drainage, steep slopes, complex cuts, or heavy loads (driveways, vehicle traffic). Professionals ensure subgrade stabilization, proper drainage installation, and a uniform pattern with tight joints. They also handle permits and compacted base specs for local frost lines.
Get multiple quotes and ask for references showing herringbone work with reclaimed brick. Check that the contractor offers a warranty on labor and compaction, not just materials. Clear communication about brick selection and jointing method avoids surprises.
Leveling, Jointing, and Finishing Techniques
Start the herringbone from a corner or a center line using a starter board to keep angles exact. Lay bricks in a 45° or 90° herringbone orientation depending on visual preference and traffic direction. Tap each brick into the sand bed with a rubber mallet and keep consistent line spacing.
Use polymeric sand or jointing mortar suited for reclaimed brick. Polymeric sand resists weeds and insects; sweep it into joints then mist to activate. For a historic look, use mortar jointing and tuckpointing—this gives a firmer surface but requires skill and curing time.
Compact the finished surface with a plate compactor over a protective mat to avoid chipping. Trim edge bricks with a masonry saw for tight fits around curves or openings. Seal the bricks if you want extra stain and moisture protection, but test a small area first to check color change.
Design Enhancements and Outdoor Features
These ideas focus on practical upgrades that boost function, style, and curb appeal. You’ll find ways to add warmth, structure, and level changes while keeping the reclaimed brick’s character.
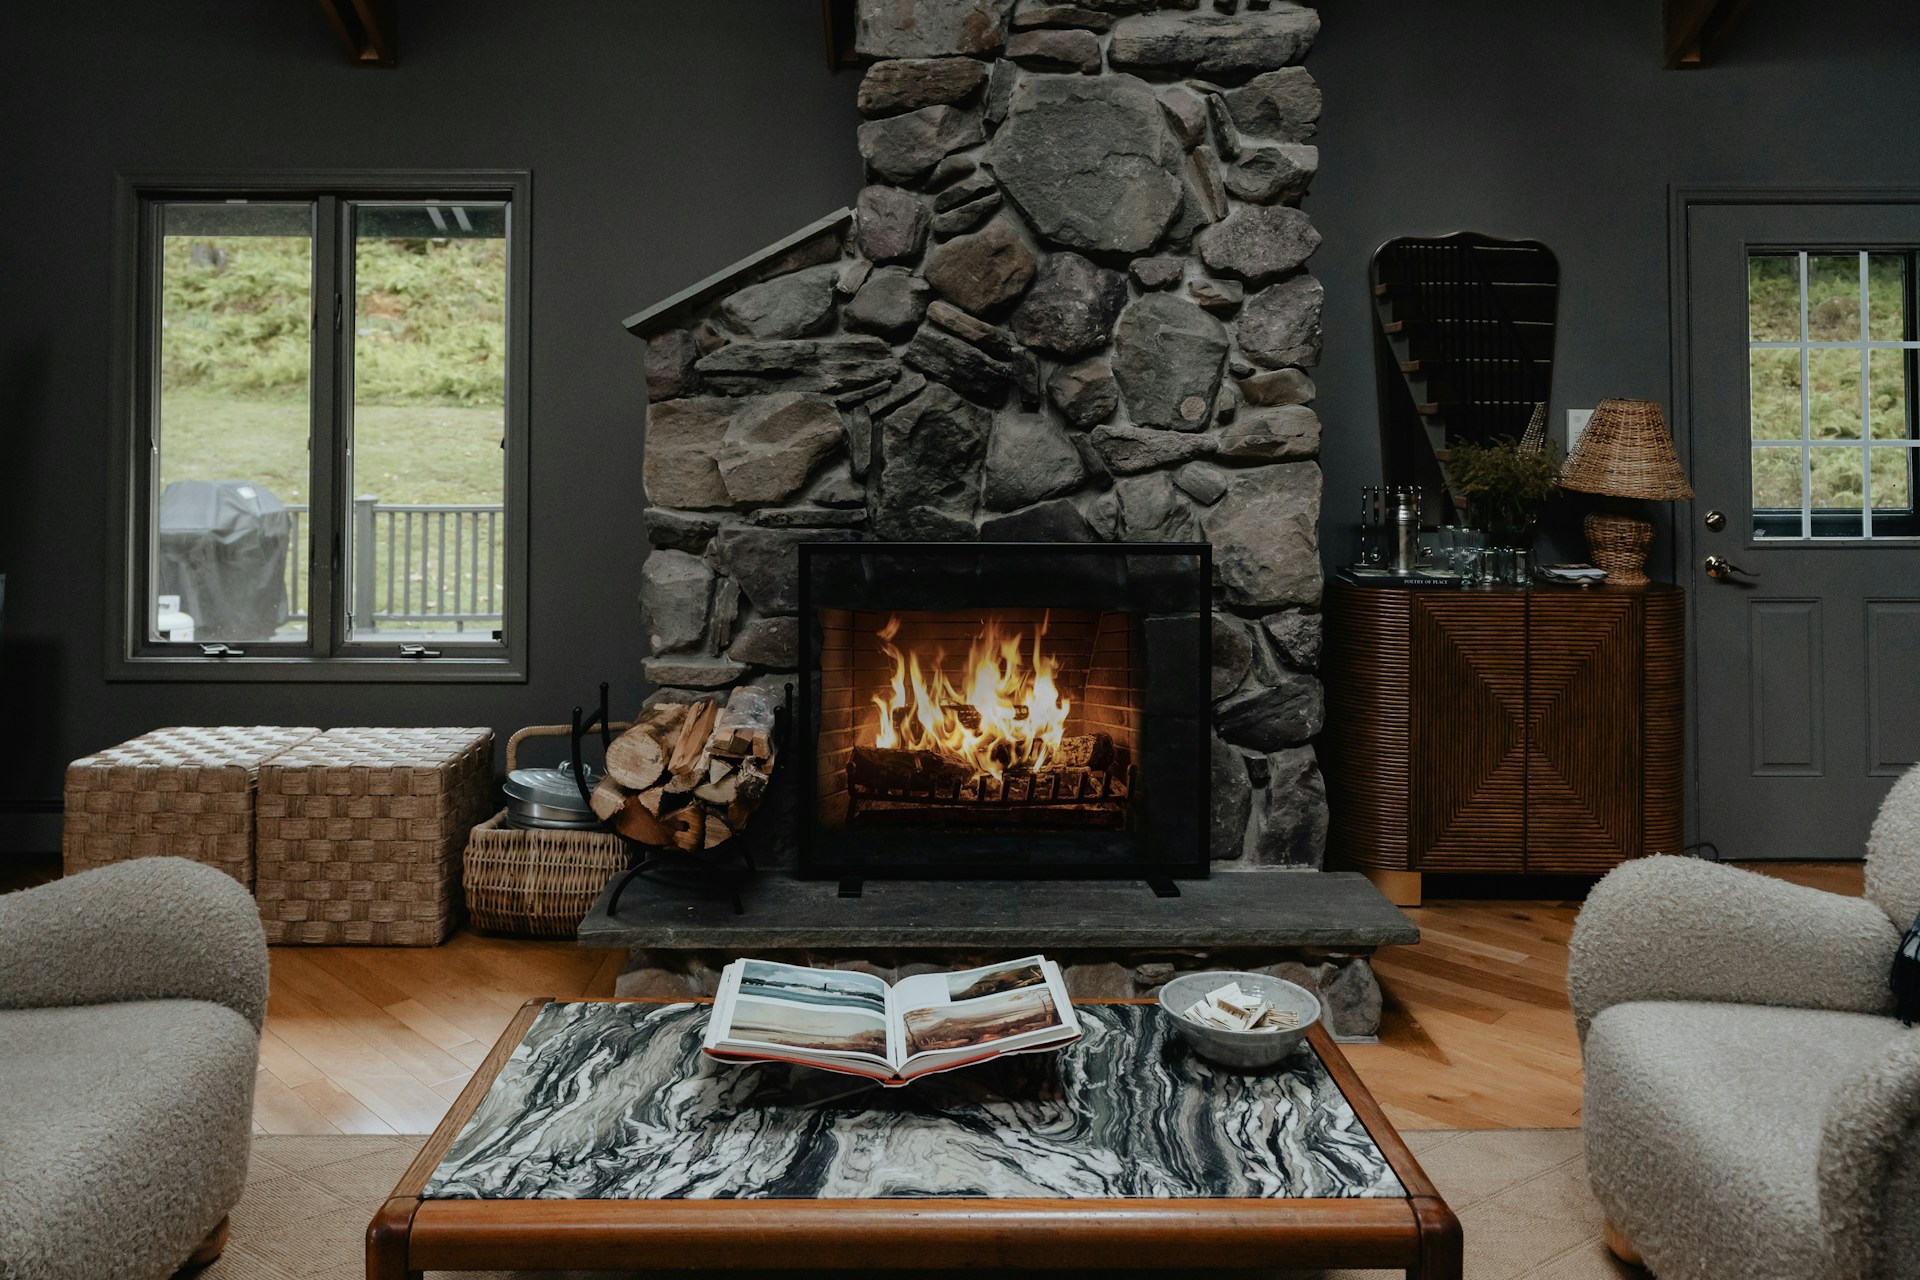
Incorporating Fire Pits and Retaining Walls
Place a gas or wood-burning fire pit on a compacted gravel base or a concrete pad to protect the reclaimed bricks from heat and smoke staining. For safety, keep at least 36–48 inches of clear space around the pit and use a noncombustible surround like stone or steel. Match the pit’s edge height to your seating—12–18 inches is comfortable for low seating; 24–30 inches works with benches.
Use short retaining walls to define the fire area and create tiered seating. Build walls from the same reclaimed brick or a complementary stone to tie materials together. Anchor walls with a proper footing and drainage to avoid shifting. Retaining walls also double as wind breaks and help focus light and sound from the fire, improving evening comfort.
Raised Herringbone Patios and Walkways
Raise sections of your patio by 4–8 inches to create zones for dining and lounging. Use a compacted crushed-stone base and concrete edge restraint to keep the herringbone pattern tight on raised surfaces. Install a 1/2–1 inch mortar joint where needed to prevent settling and to maintain the reclaimed look.
For walkways, slightly elevate the path edges to channel water away from planting beds. Add a low curb or soldier-course border in the same reclaimed brick to give clean lines and protect edges from foot traffic. Raised areas also improve sight lines across the yard and add usable vertical space for planters or lighting.
Blending With the Surrounding Landscape
Integrate planted strips between the bricks or along borders with low-maintenance groundcovers like thyme or mondo grass to soften hard edges. Keep plant heights under 8–12 inches near walking paths to avoid tripping hazards while preserving sight lines. Plant native shrubs or ornamental grasses behind retaining walls to anchor the patio within the yard.
Add layered lighting—low-voltage path lights, recessed step lights for raised areas, and uplights on specimen plants—to highlight the herringbone texture at night. Choose materials that match your home’s facade: warm red reclaimed brick suits traditional homes, while cooler reclaimed tones work with modern palettes. These choices increase curb appeal and help your outdoor living space feel cohesive and intentional.
A herringbone reclaimed brick patio does more than create a place to gather. It adds depth, character, and a sense of permanence that only reclaimed materials can offer. With the right pattern, a well prepared base, and thoughtful finishing touches, your patio can become a lasting extension of your home and a space that feels inviting in every season.
If you are ready to start planning your project and want reclaimed brick with real history and reliable availability, our team at New Orleans Brick & Stone is here to help. We can guide you through brick selection, check inventory, and get materials moving quickly so your outdoor space comes together with confidence.
Frequently Asked Questions
Find step-by-step guidance for laying reclaimed bricks, tips to keep them stable, advice on base preparation, recommended joint fillers, color-mixing ideas, and the key tools to finish the job well.
What's the best way to lay reclaimed bricks for a herringbone pattern?
Begin by dry-laying a small area to set your angle and pattern. Use a straight center line or two crossing runner lines as guides so the zigzag stays even across the whole patio.
Lay bricks in pairs at a 45° or 90° angle, depending on the look you want. Tap each brick into a compacted sand bed with a rubber mallet and keep checking with a level and string line. Cut edge bricks to fit with a brick cutter or wet saw so borders remain tight.
Work outward from your guide lines to prevent shifting the settled field.
Can you give tips on maintaining a herringbone reclaimed brick patio?
Sweep loose debris and sand from joints monthly to prevent weed growth. Refill joint sand after heavy rain or when gaps open up.
Avoid high-pressure washing close to joints; use a gentle wash and a stiff broom instead. Replace cracked or spalled bricks promptly to stop water damage from spreading. Apply a breathable sealant for more stain resistance, but test a small area first to make sure the finish looks right.
How do you prepare the ground for a brick patio with a herringbone design?
Remove turf and organic material down to firm soil. Excavate 6–10 inches for pedestrian patios so you can fit a compacted gravel sub-base, sand bed, and the brick thickness.
Lay 4–6 inches of crushed stone or gravel and compact it with a plate compactor. Add a 1–2 inch layer of coarse sand, screed it level, and keep a slight slope (about 1/8 to 1/4 inch per foot) for drainage away from structures.
What type of grout or filler should I use between bricks in a herringbone patio?
Use kiln-dried jointing sand for flexible, permeable joints that suit reclaimed brick. Sweep it into joints and compact it; repeat until joints are full and stable.
For a firmer joint, mix polymeric sand or use a lime-rich mortar if the bricks are fragile and need gentler bedding. Avoid modern cement-rich mortar on very old or soft bricks, as it can cause damage. More tips on joint fillers and installation.
Is it possible to mix different colors or types of bricks for my herringbone patio?
Yes. Mixing colors and textures adds character and hides wear on reclaimed brick. Plan a palette before you lay, grouping similar tones to avoid accidental banding.
Randomize placement enough to look natural but keep a few repeat bricks to tie the design together. Test a small mock-up to confirm the look before you set the whole area. Find more color-mixing ideas for your project.
What tools will I need to create a herringbone pattern with reclaimed bricks?
You’ll need a plate compactor, rubber mallet, spirit level, string line, brick cutter or wet saw, and a stiff broom. Bring a shovel, rake, and wheelbarrow for preparing the base.
Consider using a pointing trowel, jointing tool, plate vibrator with a protective mat to avoid chipping bricks, and a handheld grinder for precise cuts.